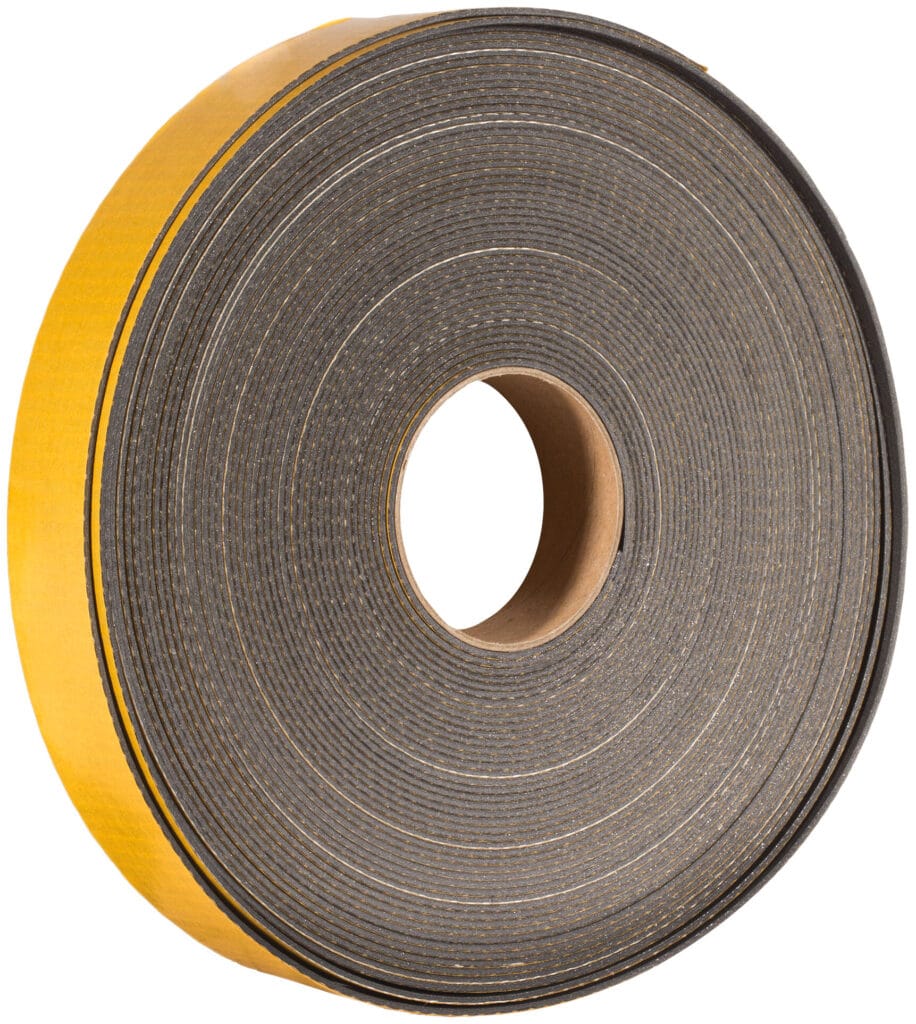
An intumescent pipe wrap helps maintain a fire-resistant seal where plastic pipes pass through walls or floors. When exposed to heat, its material expands to close the opening left as a pipe softens or burns away, helping limit the spread of fire and smoke.
Choosing the right wrap means checking the pipe type and size, the wall or floor construction, and the tested firestop system. You’ll also need to follow the installation details and keep the product documentation, so the seal can be inspected and maintained as required.
How Fire-Resistant Pipe Seals Work
Intumescent pipe seals react to heat by expanding, then fill the opening left when a combustible pipe softens or burns away. The seal helps limit the passage of flames and hot gases through a wall or floor.
Expansion Under Heat
An intumescent wrap or collar contains material that expands when exposed to high temperatures. As it swells, it presses against the pipe and the edges of the opening, forming a dense barrier. The amount of expansion and the time it takes depend on the product and how it is installed.
You must match the seal to the pipe material, diameter, wall or floor construction, and required fire-resistance rating. Fit it in the tested configuration, following the manufacturer’s instructions. Gaps, incorrect fixings or unsuitable substrates can affect performance.
Closing the Gap Left by Melting Pipes
Plastic pipes can soften and burn away in a fire, leaving an open route through the wall or floor. The expanding material compresses into the space the pipe occupied and helps close that opening. This reduces the spread of fire and hot gases through the penetration.
The seal must sit in the correct position, typically within or against the separating construction as specified for that product. Check that the opening size, pipe type and surrounding construction match the product’s tested details. A pipe seal does not compensate for an oversized opening or poor installation.
Where Pipe Wraps Are Used
Intumescent pipe wraps are fitted where plastic pipes pass through fire-resisting walls or floors. The wrap expands when exposed to heat, helping close the opening left as the pipe softens or burns away.
Combustible Pipes Through Walls and Floors
Use a pipe wrap where a combustible pipe crosses a compartment wall or floor and the tested fire-stopping system specifies one. You typically fit the wrap around the pipe within the opening, then secure it and seal the surrounding gap with the specified materials.
Some systems require the wrap to sit inside the wall or floor; others use a surface-mounted collar. Follow the product’s installation details for the substrate, pipe position and required number of layers.
Check the system’s fire-resistance rating and permitted installation conditions before work begins. Pipe diameter, wall or floor thickness, opening size and proximity to other services can affect which detail applies. Do not assume a wrap approved for one configuration will suit another.
Common Pipe Materials and Sizes
Pipe wraps commonly protect combustible plastic pipes, including PVC-U, PVC-C, ABS and polypropylene, where the product’s approval covers that material. They are generally not intended for metal pipes, which do not burn away; metal services may need a different fire-stopping detail, particularly where insulation or combustible components are present.
Check the wrap’s stated pipe-diameter range against the pipe’s outside diameter, not just its nominal size. Also confirm whether the tested detail covers the pipe’s orientation, the supporting wall or floor, and any socket or joint near the opening.
Larger pipes may need a wider or thicker wrap, or a specified number of layers. Use the manufacturer’s tested installation detail rather than trimming or adapting the wrap without approval.
Choosing a Suitable Product
Choose an intumescent pipe wrap with test evidence that matches your pipe, service opening and required fire performance. You also need to check that the product suits the specific wall or floor construction where you plan to install it.
Fire Ratings and Tested Configurations
Check the product’s classification and test evidence for the required fire-resistance period, such as 30, 60 or 120 minutes. The rating applies to a tested configuration, not to the wrap in isolation. Confirm that the evidence covers your pipe material and diameter, the opening size, the wrap position and the number of layers or turns.
Look for details in the manufacturer’s installation instructions and supporting classification or assessment documents. These should specify whether the wrap sits within the wall or floor, or fits around the pipe on one or both sides.
If your installation differs from the tested arrangement, ask the manufacturer or a competent fire-stopping specialist to confirm whether the evidence applies.
Compatibility With the Wall or Floor Assembly
Match the product to the construction around the pipe. A wrap tested in a masonry wall may not be suitable for a plasterboard partition or a concrete floor. Check the evidence for the assembly type, its thickness and, where relevant, the board layers, supporting framework and opening details.
Confirm that the wrap is approved for your pipe material, including plastic type, outside diameter and any insulation present. The specified annular gap—the space between the pipe and the edge of the opening—also matters, as do any required backing materials or sealants.
Follow the tested installation detail closely, and do not substitute components unless the manufacturer’s evidence permits it.
Installation Requirements
Check the tested fire-stopping system and the product instructions before you start. Pipe material, diameter, wall or floor construction, and the required fire rating determine where you place the wrap, how many layers you use, and how you seal the opening.
Wrap Placement and Number of Layers
Measure the pipe and opening, then confirm the wrap type and layer count specified for that pipe size and the supporting construction. Do not assume one layer suits every installation; follow the product instructions or tested system details.
Place the wrap around the pipe at the position specified, often within the opening or against the face of the wall or floor. Keep it even and in full contact with the pipe, without gaps or excessive overlap. If the system calls for multiple layers, fit them as directed rather than adding extra material by guesswork.
Check that the wrap will sit fully within the opening and will not obstruct other services. Where pipes pass through a wall or floor, use the details for that exact orientation and substrate; a tested floor arrangement may differ from a wall arrangement.
Securing the Wrap and Sealing the Opening
Secure the wrap using the specified method, such as its integral fixing or an approved retaining band. Keep it in position while you install the surrounding fire-stopping material. Do not substitute tape, wire or other fixings unless the system instructions allow them.
Seal the annular gap—the space between the pipe and the opening—with the specified fire-stopping sealant, mortar or other system component. Follow the required fill depth and finish, and avoid leaving voids around the wrap or pipe. The seal must suit the opening size and the wall or floor construction.
Before covering the installation, check that the wrap has not shifted and that the seal is continuous. Record the product and installation details where required, and keep them with your site or building records.
Regulations and Documentation
In England, fire-stopping falls under Approved Document B. Penetration seals are fire-tested to BS EN 1366-3 and classified to BS EN 13501-2, and third-party certified products and installers make compliance easier to show. Choose a tested firestop system that matches your pipe, wall or floor construction, and the required fire-resistance period. Check the product’s classification and installation documents before work starts, then keep them with the project records.
Using a Tested and Classified Firestop System
Use the intumescent pipe wrap only as part of a firestop system tested and classified for the specific application. Check that the classification covers the pipe material and diameter, the supporting wall or floor type and thickness, the opening size, and the required fire-resistance period. A system tested for a plastic pipe through a masonry wall may not suit a different pipe or a plasterboard partition.
Follow the tested arrangement for the wrap’s position and number of layers, as well as any sealant, backing material, sleeve or collar required. Do not substitute products or change the installation details based on appearance alone.
If site conditions do not match the tested system, ask the manufacturer or a competent firestop specialist to confirm a suitable tested detail before installation.
Following Manufacturer Instructions
Read the current installation instructions and technical documents for your chosen system. They should identify the approved applications, preparation steps, wrap placement, fixing method and any associated products. Check that the product identification on site matches the documentation, and confirm that the installer can access the instructions during the work.
Keep a record of the system used and where it was installed. Include the product name, classification or assessment reference, location, installation date and photographs showing the completed penetration before concealment. Record any inspection findings or approved deviations, too.
These details help your building control team, client or future maintenance contractor verify what was installed without relying on assumptions.
Inspection and Maintenance
Check that the wrap remains correctly fitted and that the surrounding fire-resisting construction stays intact. Pay particular attention after building work, plumbing repairs or changes to the pipe route.
Common Installation Defects
Look for gaps between the wrap and the pipe, loose or displaced material, and openings around the pipe that have not been sealed as specified. Check that the wrap sits in the required position within the wall or floor, and that any casing, collar or fixing remains secure. An incorrect position or incomplete seal can leave a route for fire and smoke.
Compare the installation with the product instructions and the tested detail for that specific pipe, wall or floor. Do not cover defects with extra sealant or additional wrap unless the manufacturer’s instructions allow it.
If you cannot confirm that the installation matches the approved detail, ask a competent fire-stopping installer to assess and repair it.
Changes to Pipes or Penetrations
Reinspect the fire-stopping whenever you replace, reroute or alter a pipe, or enlarge the opening around it. A different pipe material, diameter or configuration may need a different wrap or installation detail. Do not assume the original protection remains suitable after a change.
Check that new cables, pipes or other services have not been added through the same opening, and that building work has not damaged the wrap or surrounding seal. Keep a record of the product, location and any repairs so you can check the installation later.
If the required detail is unclear, confirm it with the manufacturer or a fire-stopping specialist before closing up the penetration.
Alternatives and Related Firestop Products
Intumescent pipe wrap suits plastic pipes where a tested firestop system specifies a wrap within or around the opening. Firestop collars, sealants and backing materials serve different roles, so you need to match the product and installation details to the pipe, wall or floor, and required fire rating.
Firestop Collars
A firestop collar is a metal casing lined with intumescent material. You fix it around a plastic pipe at the face of a wall or underside of a floor; when exposed to heat, the lining expands and closes the opening left as the pipe softens or burns away. Unlike wrap, which is fitted within the penetration or wound around the pipe, a collar remains visible and needs suitable fixing space.
Choose a collar tested for the pipe material and diameter, the supporting construction, and the direction of installation. Some tested systems require collars on both sides of a wall or on the underside of a floor.
Check the manufacturer’s classification and installation drawing rather than relying on a product’s general fire rating. You should also confirm that the collar’s fixings suit the substrate and that nearby services do not obstruct installation.
Sealants and Other System Components
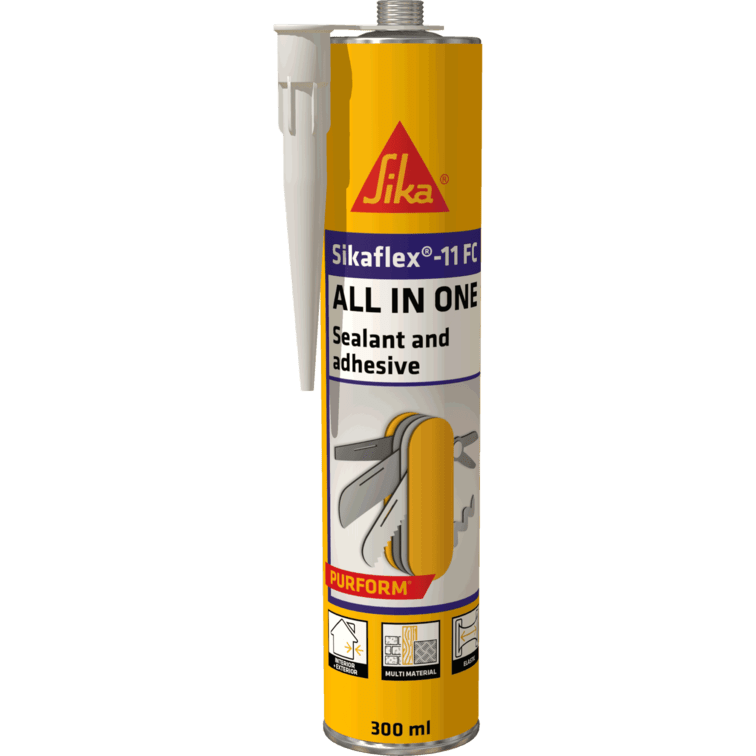
Firestop sealants close gaps around pipes, cables and other services, but they do not automatically replace intumescent wrap or a collar. Use a sealant only where the tested system specifies it, including the required joint depth and backing material.
Mineral wool backing, for example, may control sealant depth or provide support, while an intumescent component helps seal openings around combustible services. Check that every component belongs to the same tested arrangement.
The approved details may specify the aperture size, annular gap, pipe position, wall or floor thickness, and sealant application on one or both faces. Substituting a different sealant, backing material or wrap can change system performance.
Keep the product instructions and firestop schedule available, and record the installed system so you can verify it during inspection or later maintenance.